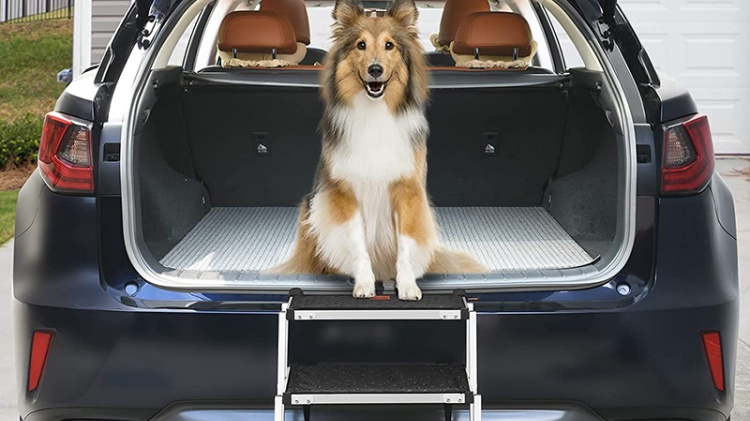
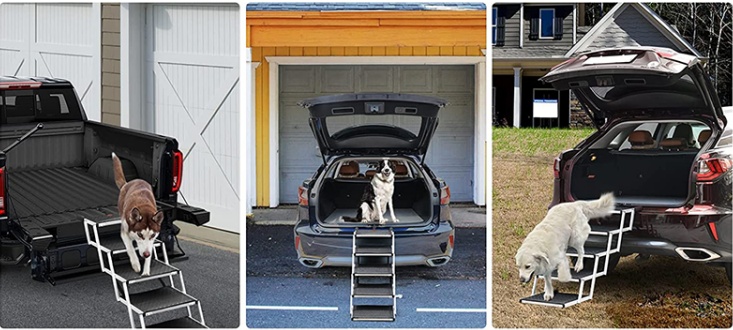
Getting dogs in and out of vehicles easily and safely is a priority for pet owners. While you can purchase pre-made pet stairs or ramps, building your own custom DIY dog stairs can be a rewarding project that saves money.
This guide will walk through the entire process of designing, sourcing materials, building, and installing DIY dog stairs for your car.
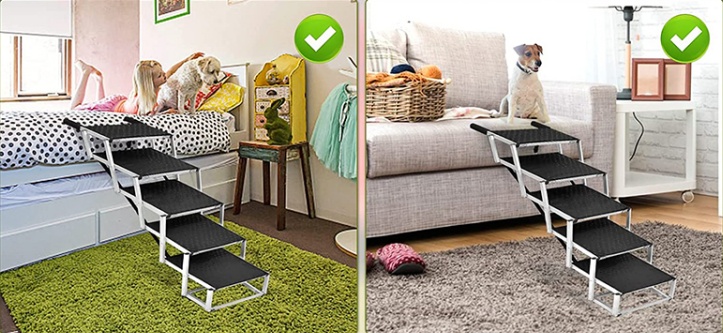
Benefits of DIY dog stairs
Constructing your own set of dog stairs comes with numerous advantages:
- Cost savings – DIY stairs are significantly cheaper than buying retail. Pre-built stairs can cost $150-500+.
- Customization – You can tailor the size, height, and materials to fit your car and dog. No standard product can match.
- Sturdiness – Building stairs yourself allows using wood/hardware for added strength. Many retail stairs are flimsy plastic.
- Satisfaction – Seeing your DIY stairs creation come to life is very rewarding. Save money while getting a great woodworking project.
- Decor option – You can paint/stain your stairs to match vehicle interiors. Add carpet or design elements.
- Adjustability – DIY allows adjusting height or size as your dog ages or needs change.
As long as you have some basic building skills and tools, there are huge perks to assembling your own dog stairs. Let’s go over the process step-by-step.
Step 1 – measure vehicle and dog size
Proper measuring ensures you design and build stairs suited to your vehicle and customized for your dog:
- Use tape to measure the ground-to-vehicle floor height where your dog will enter. This determines the staircase length needed.
- Measure at multiple entry points – side doors, rear hatches, and trunk openings. Design for the highest height.
- Measure your dog as well – height at the shoulder, length from chest to rump, width at the widest point.
- Make stairs just slightly shorter than your dog’s height measurement.
- Step depth and width should accommodate your dog’s paw size and fully extend their body.
- Growing puppies need expandable stairs to adjust to their growth. Leave room to extend.
Take your time measuring accurately. Double-check all figures to ensure your stair design will perfectly fit.
Step 2 – calculate dimensions
Use your measurements to map out staircase dimensions and angles on graph paper:
- The staircase should be angled around 60-70 degrees typically. This balances a gentle slope with a compact footprint.
- Individual step depth is usually around 12-18 inches deep. The rule of thumb is to make steps around half of your dog’s body length.
- Step width should match or exceed your dog’s width – typically 12-24 inches wide.
- Measure the rise in height between steps. Keep steps at 6 inches or less for short dogs and 8 inches or less for large dogs.
- Double-check your math. Improperly spaced steps can cause falls. Better to go back and revise before cutting.
Sketch out stair dimensions until you have a properly proportioned staircase mapped out for your pup.
Step 3 – source materials
DIY dog stairs mainly require basic lumber, screws, glue, hardware and tools:
- Pine or oak boards are ideal for the framework – 1x4s, 1x6s, 1x8s depending on staircase size. Use kiln-dried lumber for maximum stability.
- Exterior wood glue like Titebond or Gorilla Glue for joinery. Waterproof polyurethane glue makes joints extra robust.
- 3-4″ deck screws for maximum hold. Galvanized or coated screws prevent rust.
- Paint, stains and polyurethane sealer for custom looks and weatherproofing.
- Non-slip stair treads – rough-cut outdoor carpet, anti-slip tape, truck bed liner coating.
- Sandpaper, saws, drill, carpenter’s square, level, clamps, and safety gear.
Check for these supplies at your local home improvement store. Many items can be substituted if needed. Ask for advice on materials as well.
Step 4 – cut and sand the wood
With your measurements, cut lumber pieces to size:
- Cut stringers (sloped side supports) to measure stair length at your planned angle using a miter saw.
- Cut horizontal steps to match widths and depths per your measurements.
- Leave steps long at first, trimming to custom fit each step after assembly. This allows tweaking.
- Sand all wood pieces smoothly to prevent splinters. Use up to 120 grit sandpaper.
- Wear proper eye and ear protection when cutting. Use sharp blades for clean cuts.
Pre-assembly cutting and sanding make for easier assembly and a smoother final product. Take your time to cut accurately.
Step 5 – assemble the steps
Once your materials are prepped, assemble using wood glue and screws:
- Lay stringers on a flat surface and position steps centered between them.
- Apply wood glue on step/stringer contact edges. Clamp pieces tightly together.
- Drill pilot holes and use 3-4” deck screws to secure each step to the stringers. 2-3 screws on each side.
- Check step heights match your rise calculations by measuring with a level.
- Allow the glue to fully cure overnight before unclamping.
Solid wood joinery creates a stair frame far stronger than any plastic or metal retail stairs. The wood glue/screw assembly can support dogs up to 150 lbs or more.
Step 6 – add treads and finishing touches
To complete and refine your stairs:
- Measure and cut non-slip outdoor carpets or tread strips to fit each step surface tightly. Adhere to outdoor carpet glue.
- Use clamps and wood glue to attach non-slip tape strips along the edges of steps as an extra paw grip.
- Sand and round over stair edges, so there are no sharp corners. Apply wood filler to gaps.
- Seal and waterproof the wood with 2-3 coats of exterior polyurethane. This prevents moisture damage.
- Paint or stain as desired for color and design. Properly prep and prime wood first.
- Add anchors like eye bolts to attach the stairs securely to your vehicle.
- Consider reflectors or LED strips along stairs for visibility.
Applying treads, sealing the wood properly, and adding anchors complete the stairs for safe use.
Step 7 – use and maintain DIY stairs
Once built, use your stairs with care:
- Check the stability and grip each use before allowing your dog on the stairs. Fix any wobbles immediately.
- Have your dog enter/exit the vehicle slowly under your supervision at first. Reward calm behavior.
- When not in use, store the stairs indoors to prevent chewing damage and weathering.
- Before each user inspects stairs for damage, looseness, cracks or splinters. Perform repairs immediately if any are noted.
- Re-seal outdoor wood stairs annually to maintain water resistance.
Your custom DIY dog stairs should provide years of service and access if maintained properly. Building them yourself provides customization options and cost savings that commercial products can’t match. Put your woodworking skills to work creating a stair masterpiece tailored perfectly for your faithful companion.
Additional safety and training tips
To help your dog become comfortable and safe using the DIY stairs you built, follow these tips:
Acclimate gradually
- Introduce the stairs indoors first. Practice at low heights.
- Use treats and praise to reward all interaction with the stairs first.
- Slowly increase stair height over multiple sessions as your dog gains confidence.
Use supportive tools
- Harnesses provide control and stability. Attach a leash to guide them on the stairs.
- Have someone spot from behind in case slips occur.
- Place side barriers like chairs or gates so the dog feels secure.
Patience is key
- Rushing training can cause accidents and fear. Let the dog set the pace.
- Keep sessions short and positive. Avoid forcing behaviors.
- With time and consistency, they will master the stairs.
Practice distractions
- Add noises and activities around the stairs to prepare for real-world factors.
- Reinforce calm focus with rewards when disruptions occur.
Give time to adjust
Dogs may be uncertain of new stairs at first. Let them sniff and become comfortable before proceeding.
With the right graded approach and tools, your dog will soon be a stair-climbing pro!
Optional add-ons and variations
Personalizing your DIY dog stairs even further is easy with these options:
- Add carpet, artificial turf, or rubber matting to steps for comfort and traction.
- Install storage bins or drawers within side stringers to hold leashes, toys, etc.
- Include fold-out tray tables to use for food, water or grooming needs.
- Add detachable ramps or wheelchair lifts for dogs with mobility limitations.
- Use decorative paint techniques like stenciling for custom designs.
- Incorporate LED lighting strips for visibility.
- Build a covering roof to shield stairs from rain and snow.
DIY construction allows endless possibilities for accessorizing and customizing stairs to match your vehicle and max out your dog’s enjoyment.
Building your own set of dog stairs takes a bit of planning, skill and time invested upfront, but the long-term benefits make it a very worthy project.
You get a customized solution tailored to your vehicle and dog for a fraction of the cost of retail options.
Careful construction, training and use ensures your pet will benefit from the stairs for many years. Go ahead and get those woodworking skills sharpened to start your next satisfying stair-building adventure!